- Setup an Azure subscription if you haven’t got this already, this will be used for Billing. The storage is under a 1$/Month for 1 GB space
- Create a Storage Container in the right Azure Region with the correct redundancy ( Local Redundancy Storage in Cheaper ) . Use General Purpose V2!
- Create a Blob Container in this Storage Resource
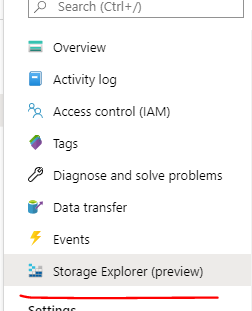
- Use Storage Explorer to upload files here
- Upload what file you would like to deploy
- Right click on the file and choose “Get Shared Access Signatue”
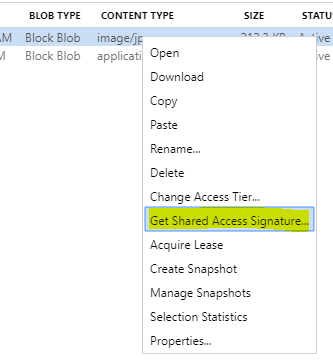
I set a 100 Year Expiry , and leave access as Read Only

It will give you URI and query string

Copy the URI ONLY up to the file name ( nothing after e.g. the example below ) and put in $BlobUri
Copy the FULL Query String and put in $Sas
Change the Output Path which will need to exist with a trailing \, this example I have used the Users Desktop
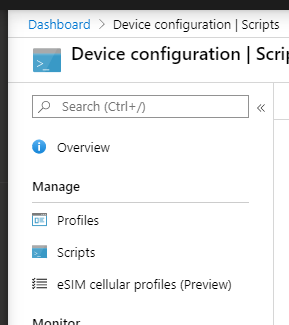
Deploy this powershell file via Device Config Scripts